


How to repot your plants
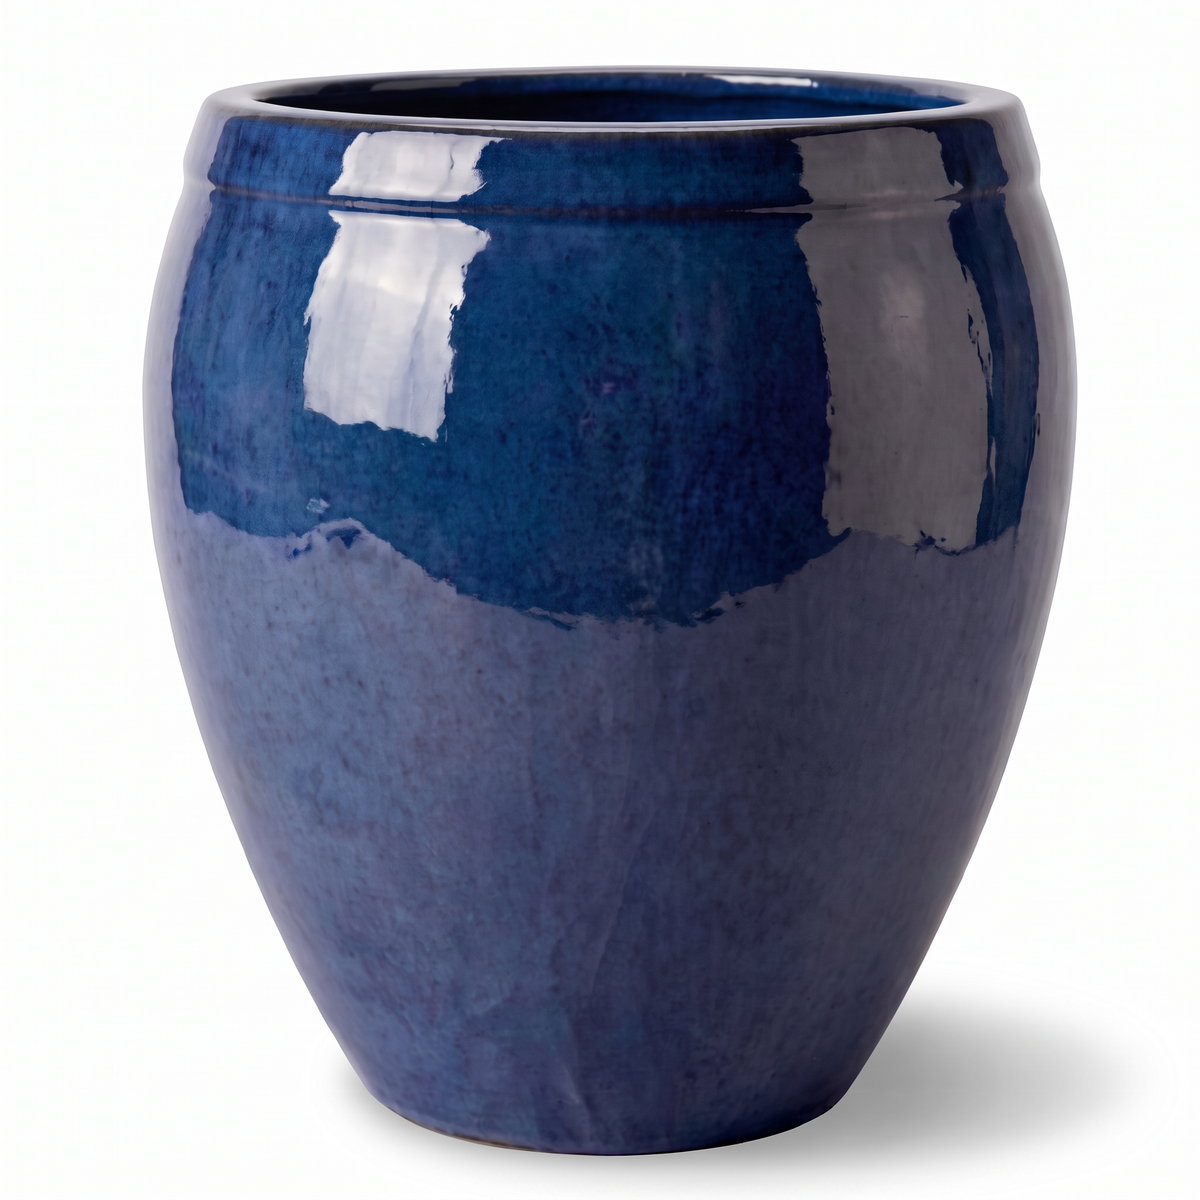
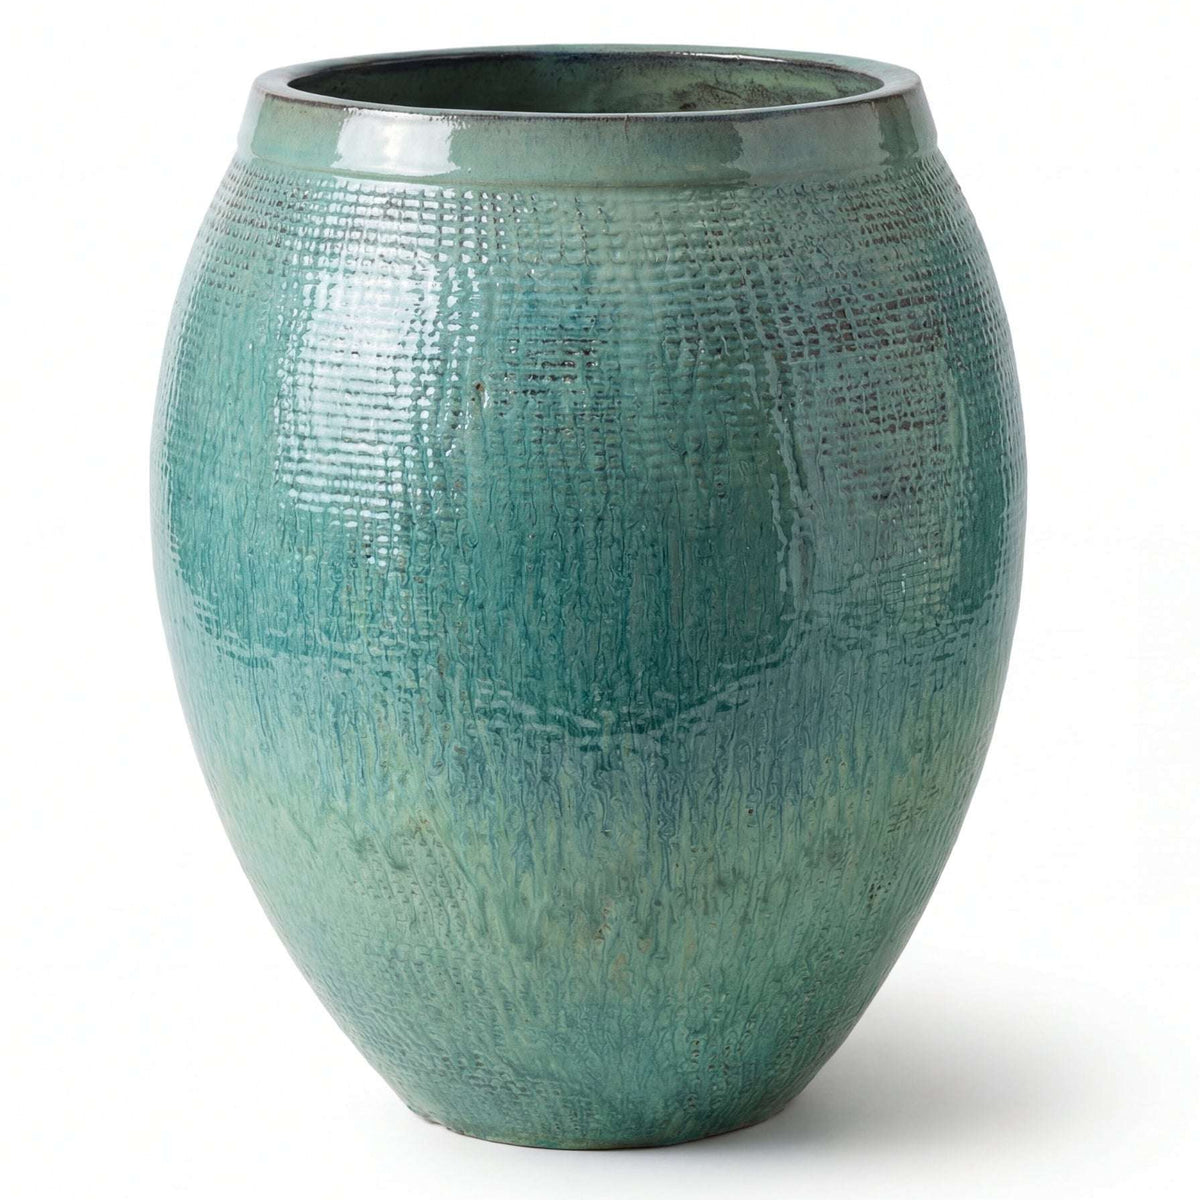
Repotting a plant is essential for its health and growth. If you have chosen a ceramic planter, it is an excellent decision: attractive, durable and often more stable than a plastic pot, it also showcases your plants. However, repotting in a ceramic planter requires a few specific precautions. Follow our step-by-step guide to give your plants a new home suited to their needs.
When should you repot?
Knowing when to repot is crucial to avoid stressing the plant or compromising its growth. Here are the signs and seasonal guidelines to consider:
Signs that it is time to repot:
-
Visible roots: If roots are coming out through the drainage holes or form a dense network on the surface of the growing medium, it is time to repot.
-
Slowed growth: A plant that is no longer growing or seems “stuck” in its pot may need more space.
-
Compacted growing medium: Over time, potting compost loses its structure, becomes compacted and retains too much water, which can cause root rot.
-
Unstable plants: If your plant becomes wobbly or leans over, it is often a sign that the pot has become too small.

The ideal season for repotting:
Spring is the most favourable time for repotting. Plants then actively resume growing and can recover more easily from the stress of changing pots.
Times to avoid repotting:
-
Winter: Plants enter dormancy and their root activity is minimal. Repotting them at this time can slow their growth and cause unnecessary stress.
-
Periods of high heat: In summer, if temperatures are very high, some plants may suffer more from repotting, especially if they are sensitive to direct sunlight.
In general, young plants need repotting every 12 to 18 months, while mature plants can be repotted every 2 to 3 years.
How can you ensure good drainage?
Drainage is essential to prevent water from accumulating in the planter, which could cause root rot. Ceramic planters, while often attractive, can sometimes be less porous and require particular attention. Here is how to proceed:

-
Choose a planter with a drainage hole: Make sure your ceramic planter has a hole in the bottom. Otherwise, repotting will require a thicker drainage layer.
-
Add a layer of clay pebbles: Place clay pebbles or gravel at the bottom of the planter to create a space that will collect excess water.
-
Use geotextile fabric: Place a small piece of geotextile fabric or a filter over the pebbles before adding the potting compost. This will prevent the growing medium from mixing with the pebbles and maintain good water circulation.
-
Choose suitable potting compost: Opt for a light, well-draining mix suited to the type of plant (cacti, succulents, houseplants, etc.).
Repotting: a step-by-step guide
Here is a detailed guide to repotting your plants in a ceramic planter, step by step:
Prepare your equipment
- New ceramic planter
- Suitable potting compost
- Clay pebbles or gravel
- Geotextile fabric or filter
- Scoop or small trowel
- Gardening gloves

1. Remove the plant from its old pot
Gently tap the pot to loosen the root ball.
If the roots are very tightly packed, carefully loosen them with your fingers.

2. Prepare the new planter
Place a layer of clay pebbles at the bottom of the planter.
Cover them with geotextile fabric to keep the pebbles in place.

3. Add soil and potting compost
Fill the planter with some potting compost, leaving enough space for the plant.
Make a small hollow in the centre to accommodate the plant’s root ball.

4. Position the plant and fill in with growing medium
Place the plant in the hollow and add potting compost around it, pressing down lightly with your fingers.
Make sure the plant is stable and that the crown (base of the stem) is level with the rim of the planter.

5. Water carefully
Water lightly to help the growing medium settle.
Avoid soaking the plant immediately, especially if the planter is made of glazed ceramic.
Repotting your plants in a ceramic planter is not merely an aesthetic choice; above all, it is an act of care to ensure their health and development. By repotting at the right time, ensuring effective drainage and following our step-by-step guide, your plants will thrive.