

How to plant in a planter: complete guide
Planting in a planter is one of the most rewarding activities for any gardener, whether you have a large garden or simply a windowsill. It is also one of the most accessible. A few sound material choices, suitable growing medium and carefully selected plants are all it takes to turn an empty container into a true plant display.
You still need to know the key steps to make your planting a success first time. Which container should you choose? How can you ensure good drainage? Which compost should you use depending on the plants? How should you care for your plant arrangement throughout the seasons?
This practical guide takes you through each step, from selecting your planter to daily watering. You will find all the advice you need to create a green space on your balcony, terrace or in your garden.

Choosing the right planter
The choice of container determines everything else. A planter that is too small will limit the development of the roots. A material unsuited to the climate may crack during its first winter.
First of all, ask yourself three questions: where will it be installed? Which plants will you grow in it? And how much weight can your support bear?
Materials and characteristics
| Material | Weight | Frost resistance | Appearance | Ideal for |
|---|---|---|---|---|
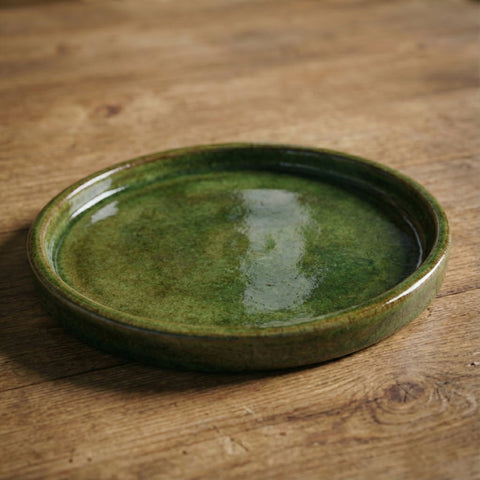
| Glazed ceramic | Medium | Yes, without treatment | Colourful, handmade | Balcony, terrace, entrances |
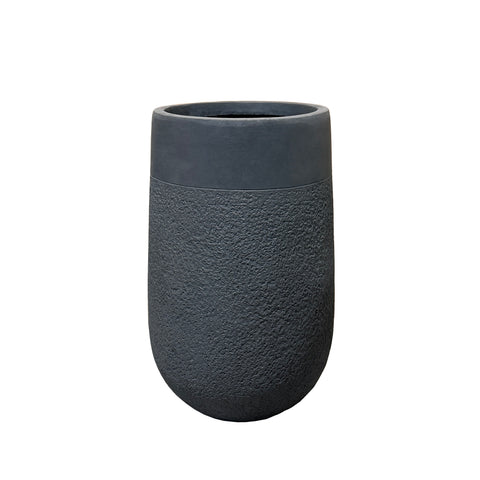
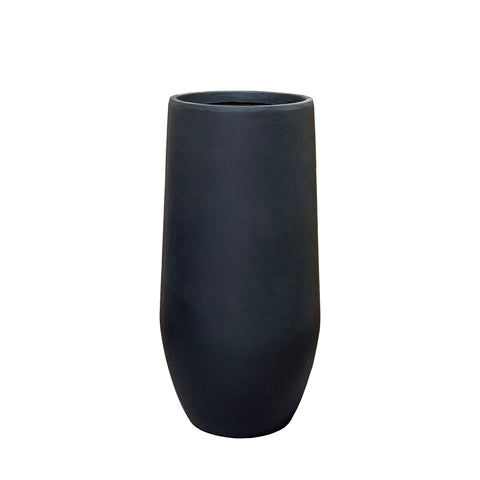
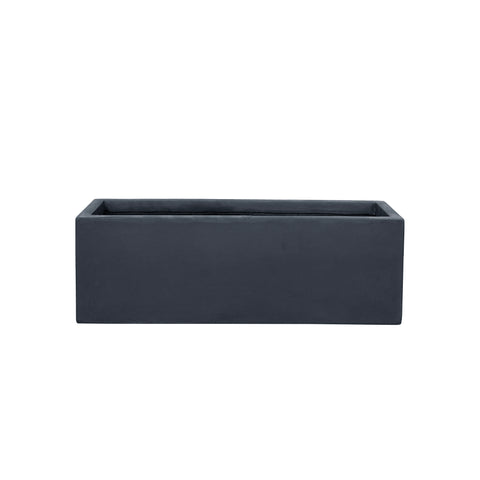
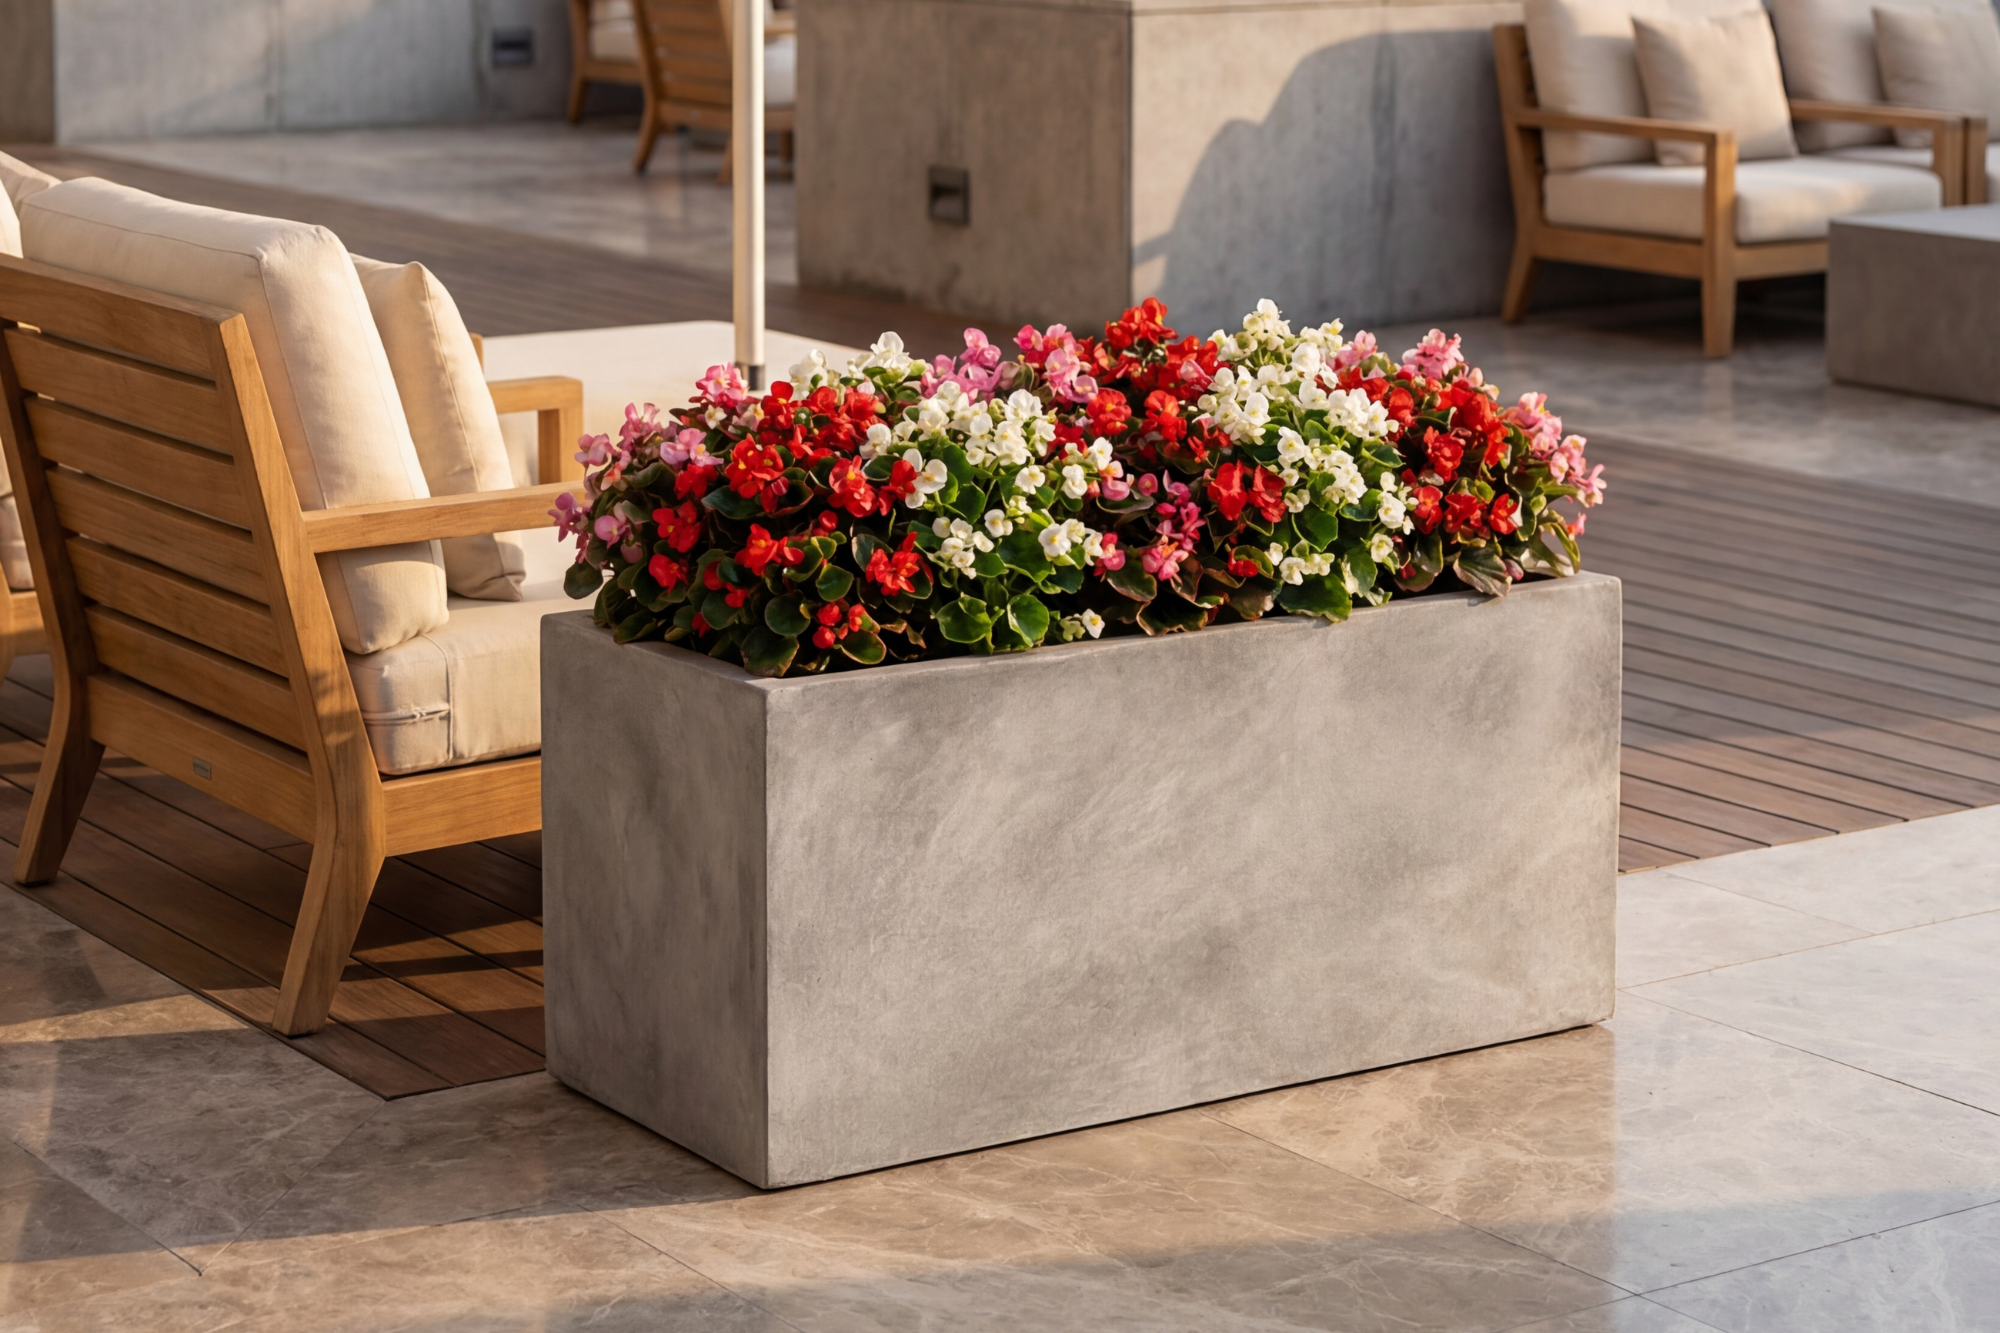
| Fibre concrete | Lightweight (vs traditional concrete) | Yes (frost, UV, impacts) | Contemporary, mineral | Modern terraces, public spaces |
| Terracotta | Medium to heavy | Varies according to quality | Classic, warm | Mediterranean gardens, patios |
| Plastic | Very lightweight | Medium | Varies | Temporary use, seedlings |
| Wood | Medium | Low without treatment | Natural, rustic | Raised vegetable beds, country-style settings |
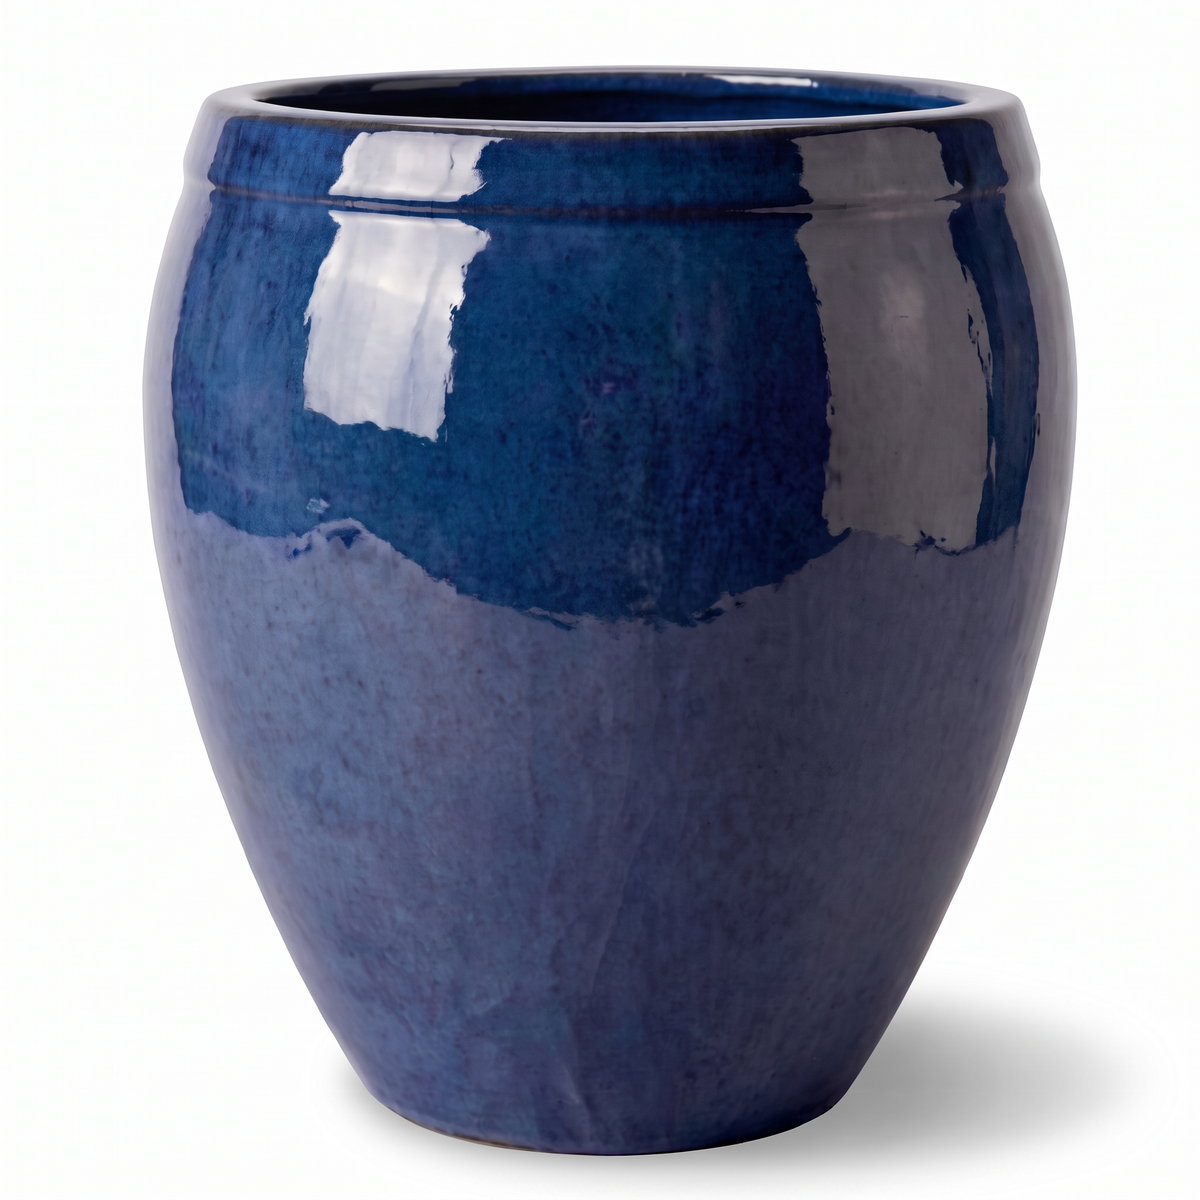
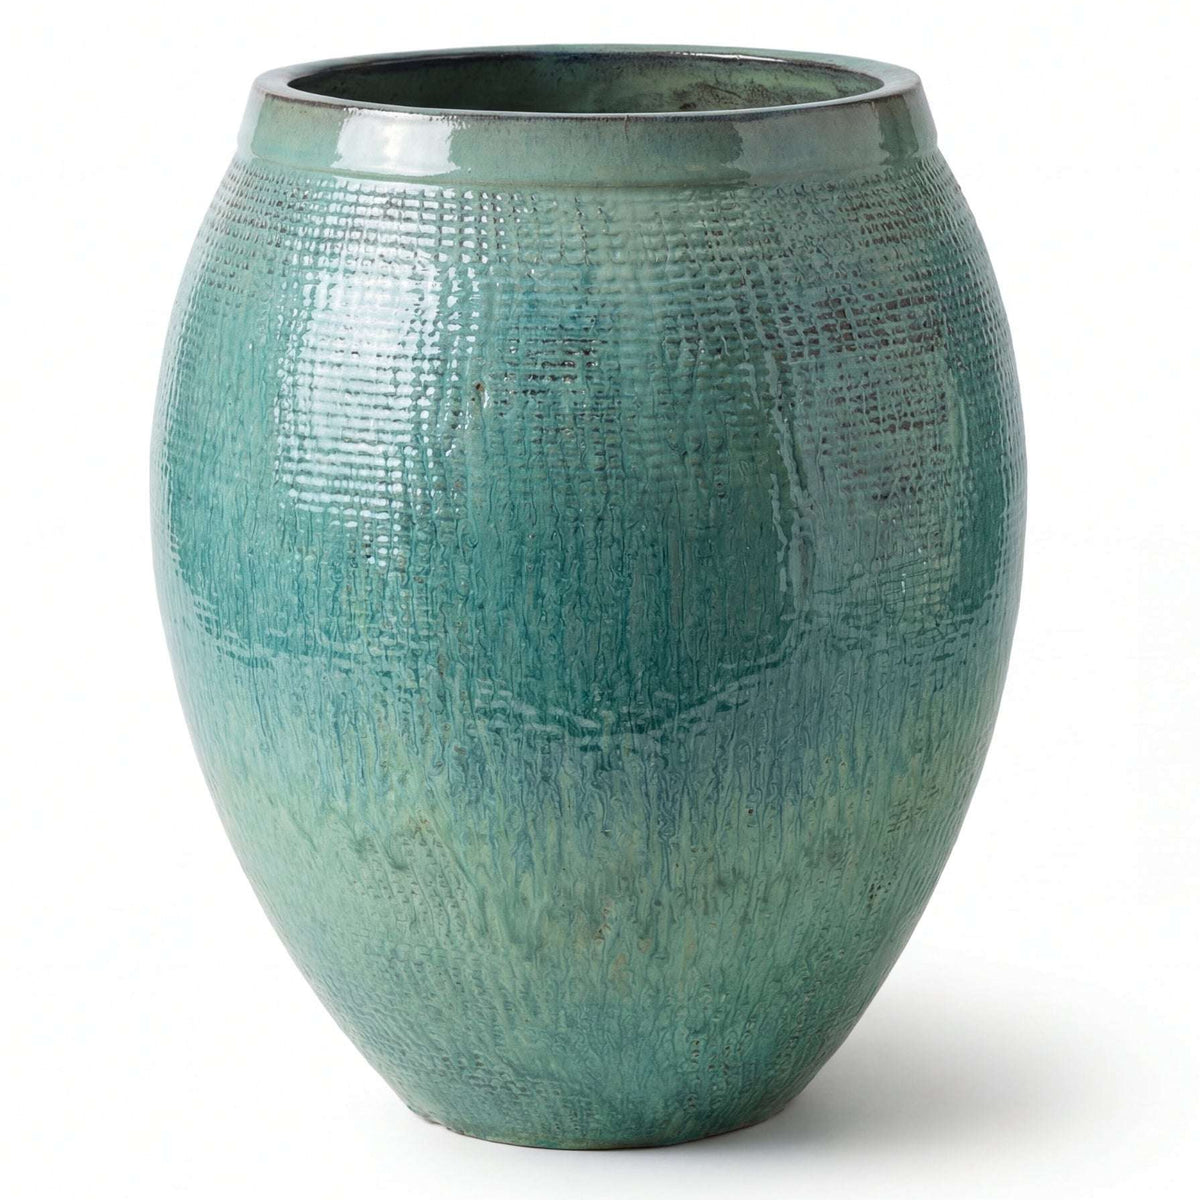
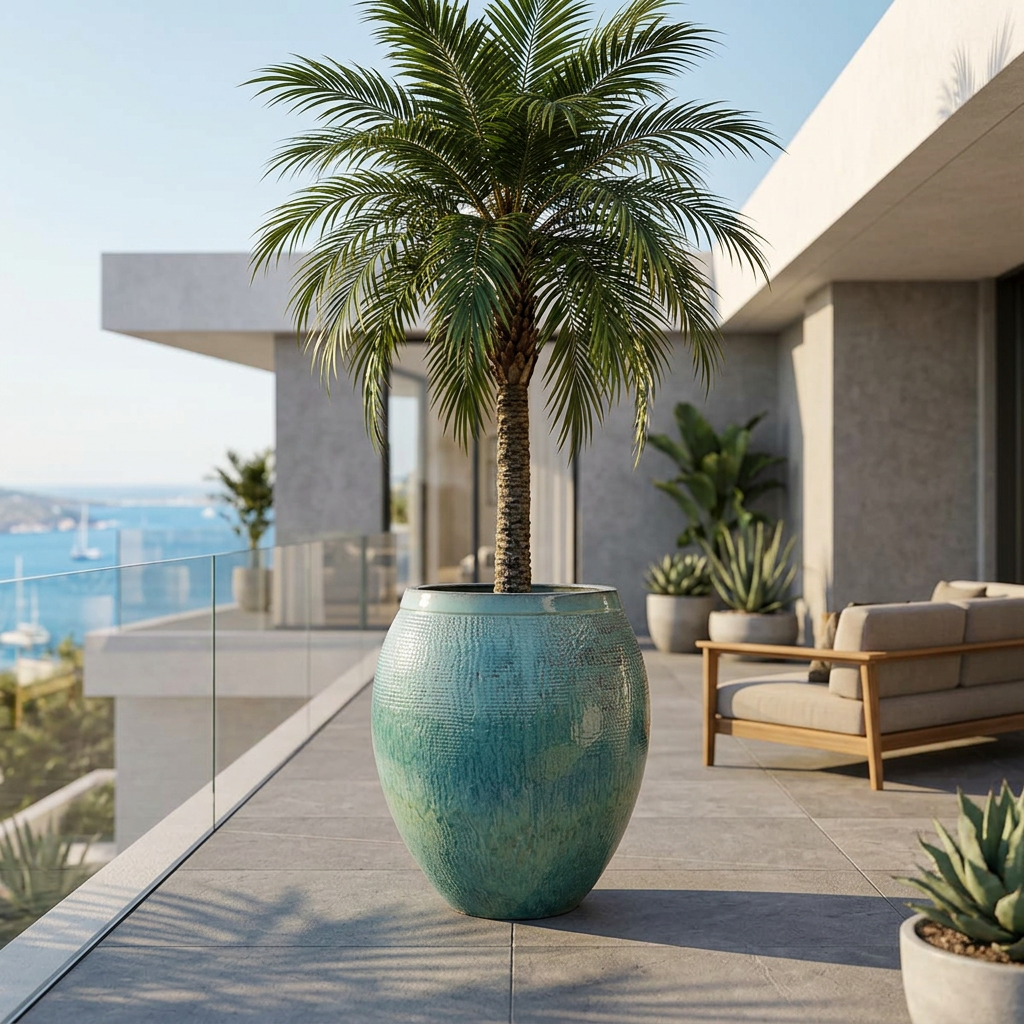
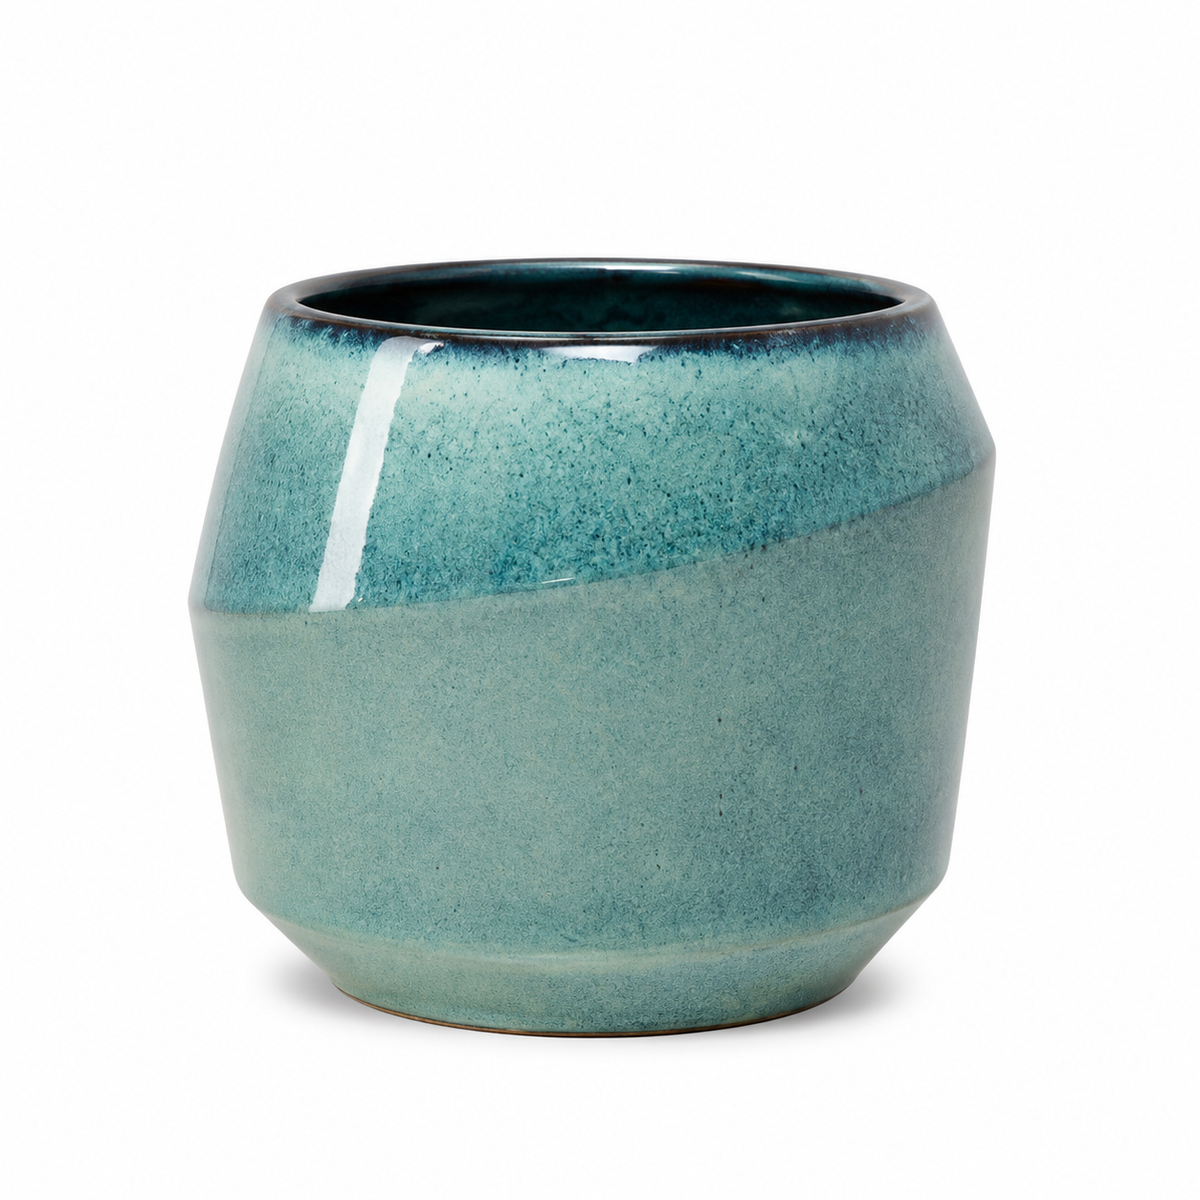
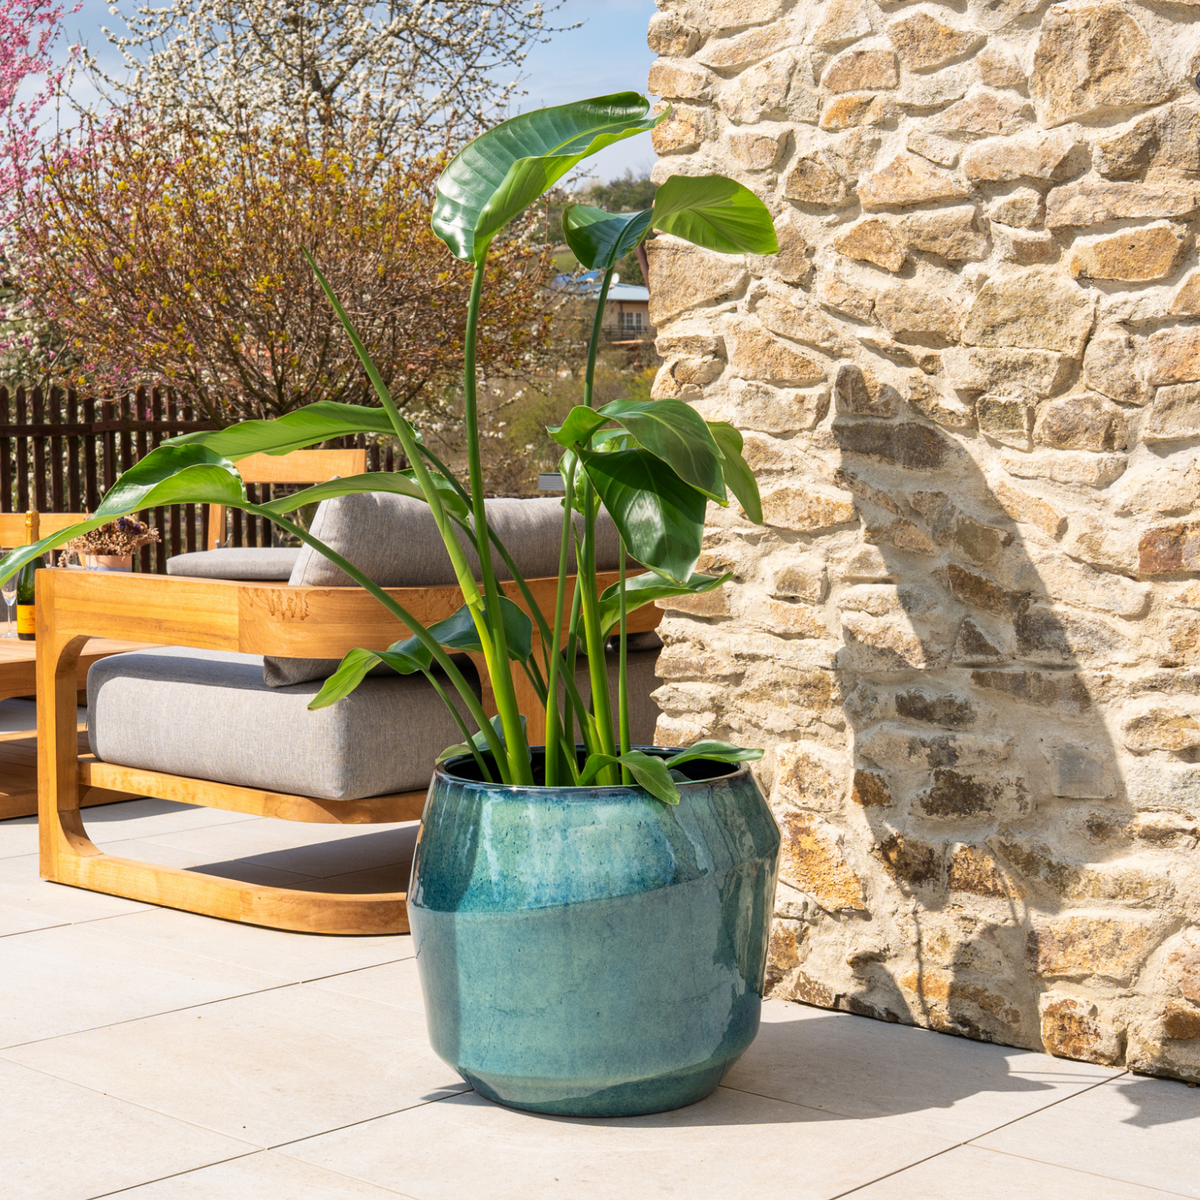
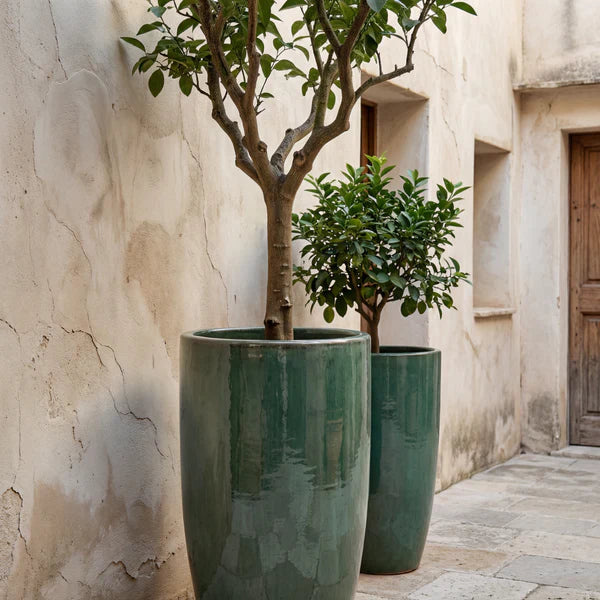
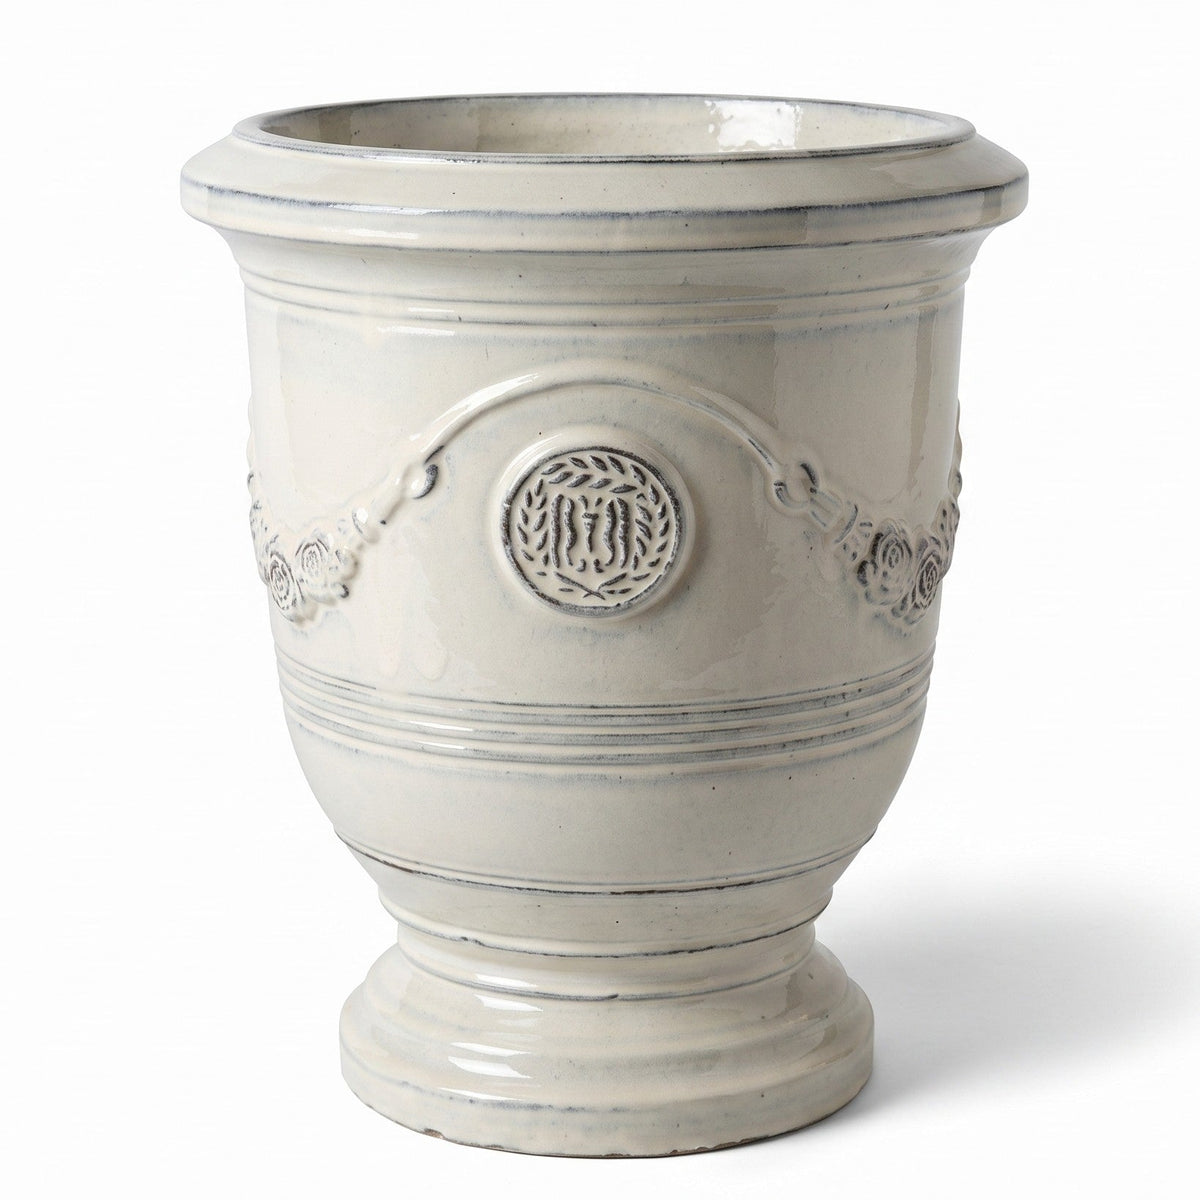
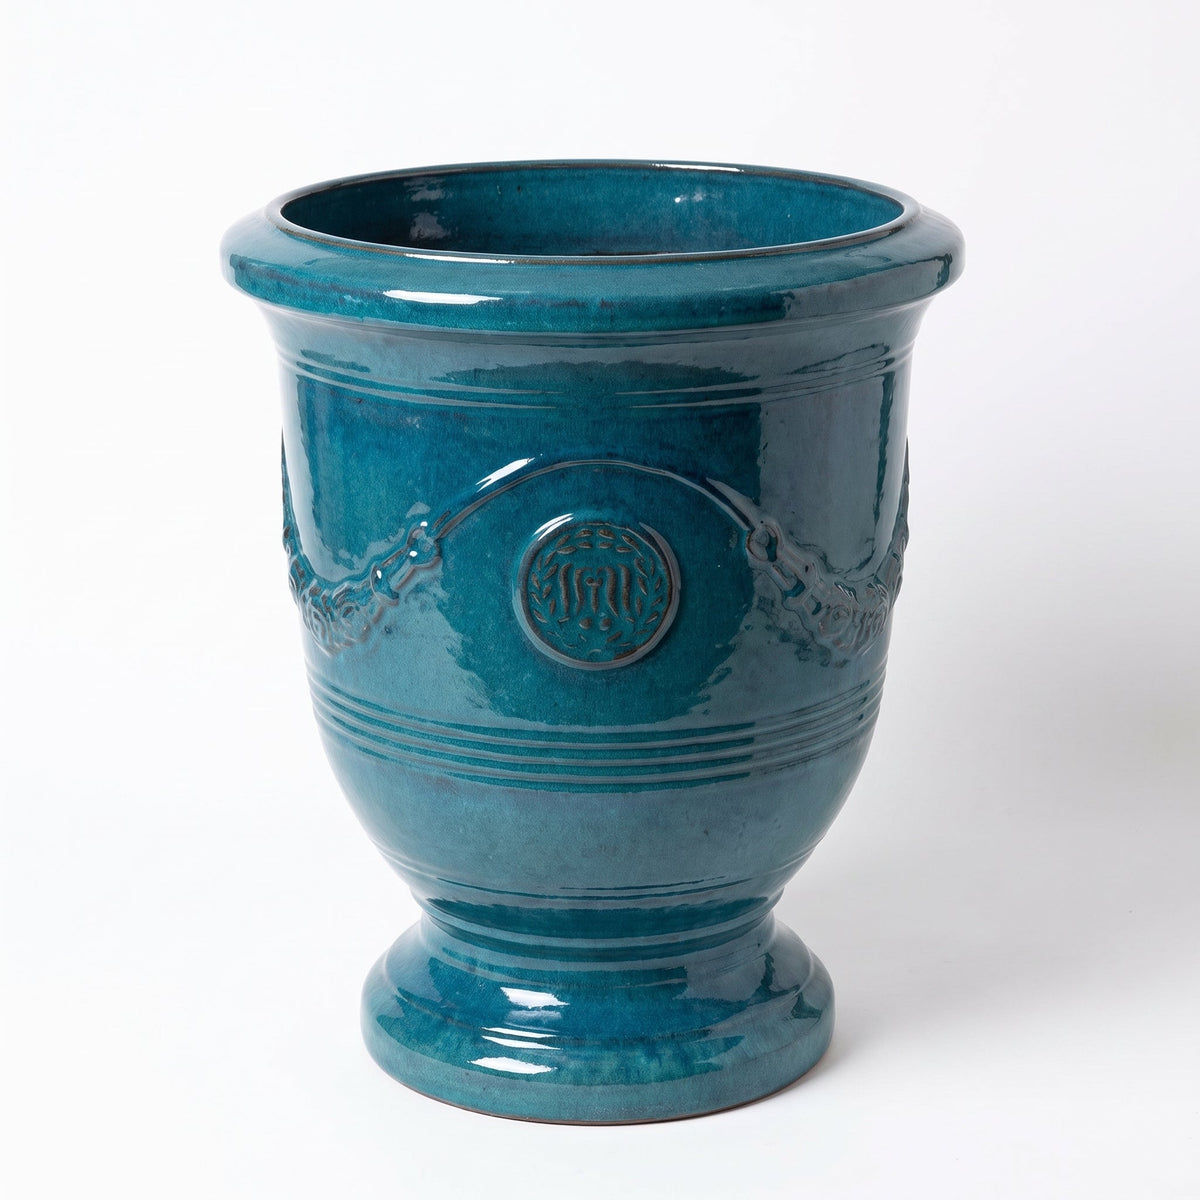
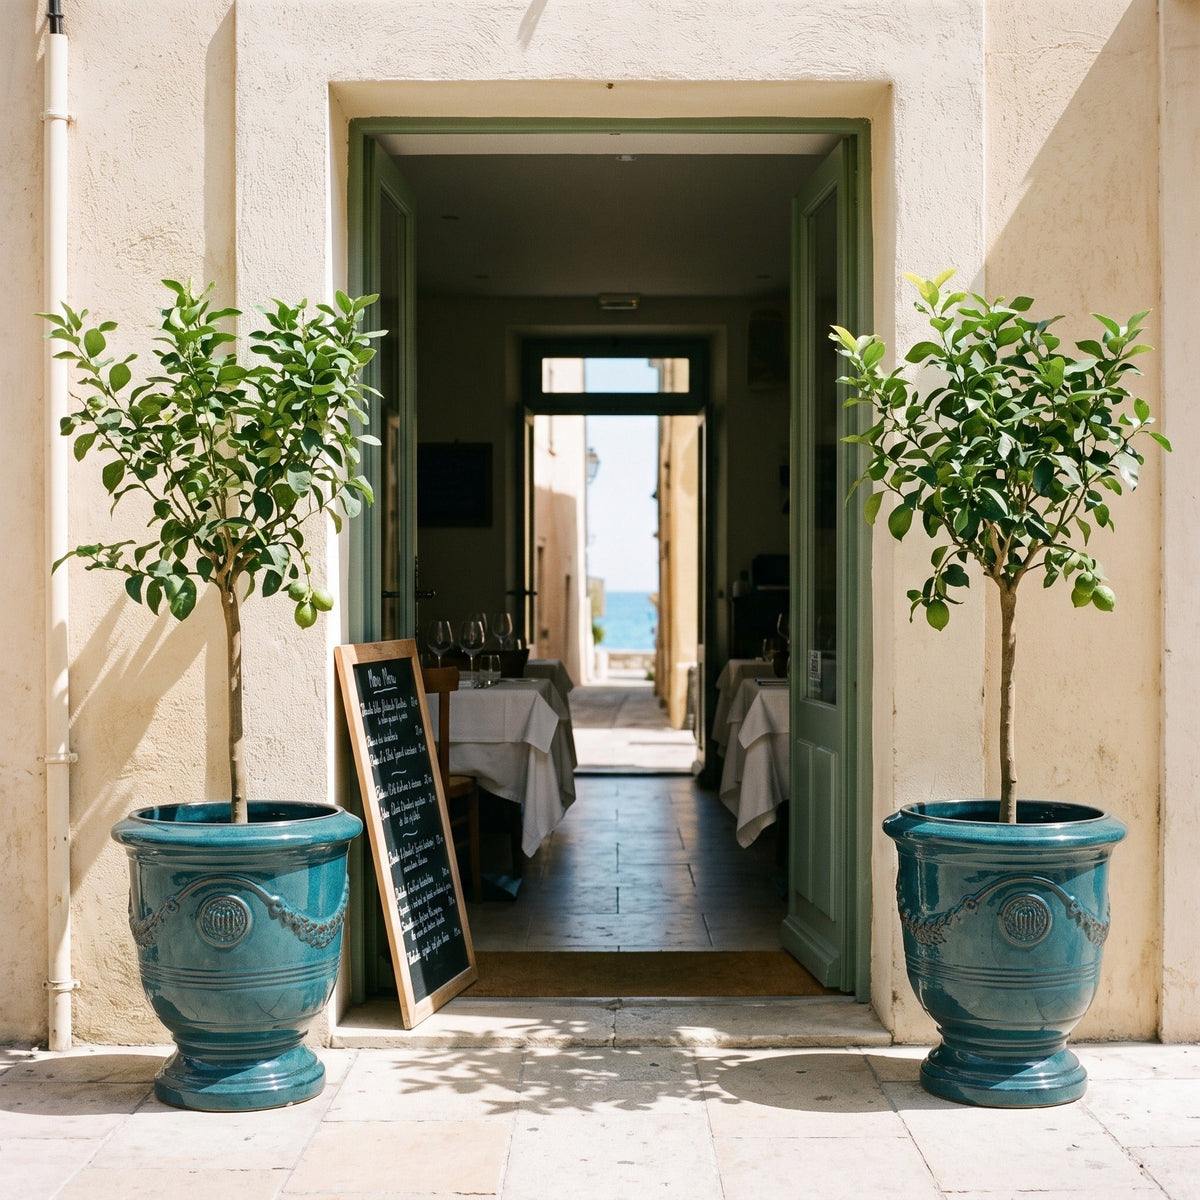
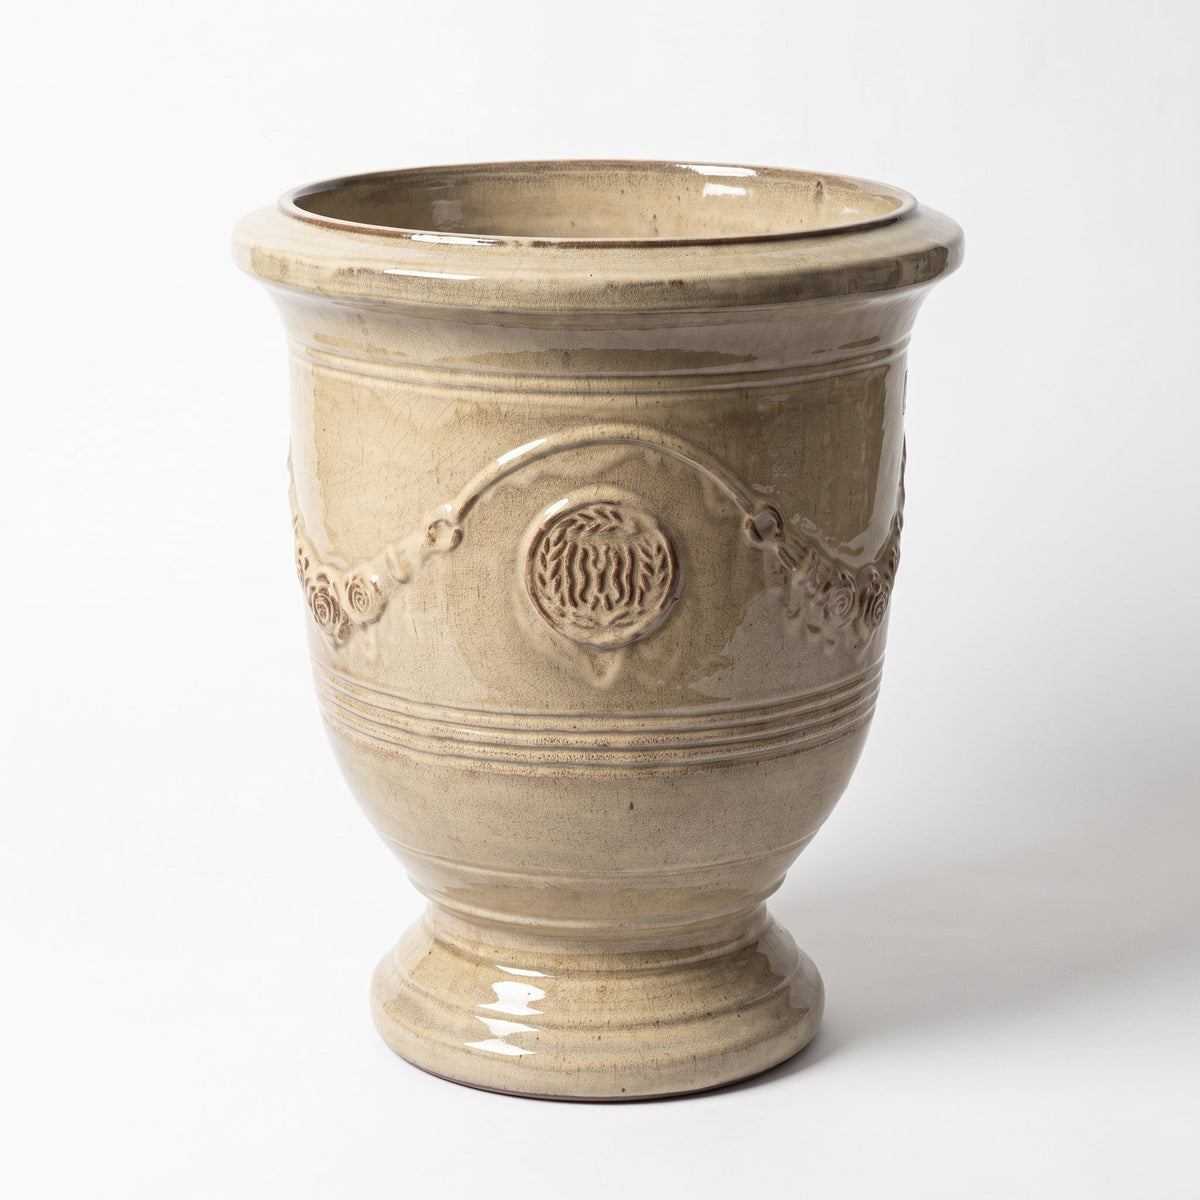
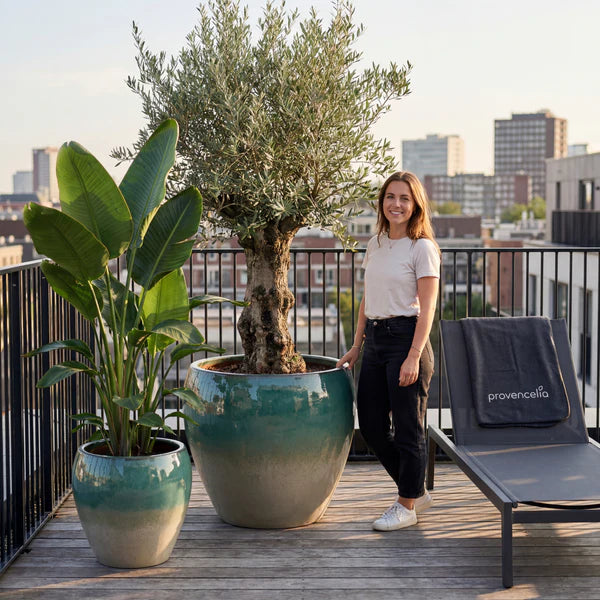
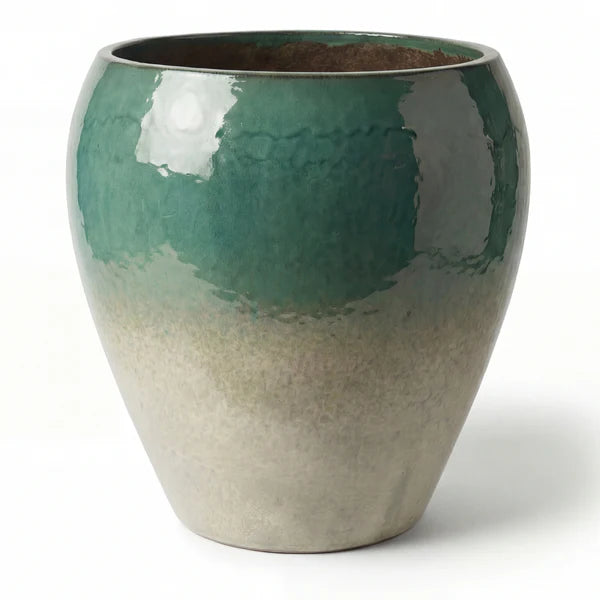
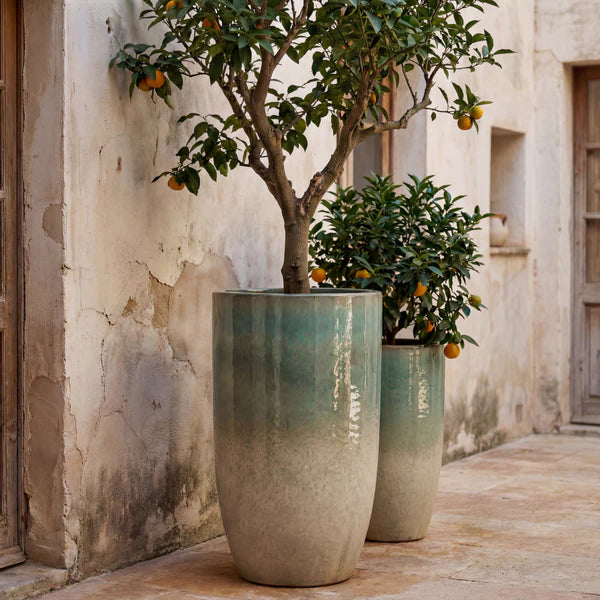
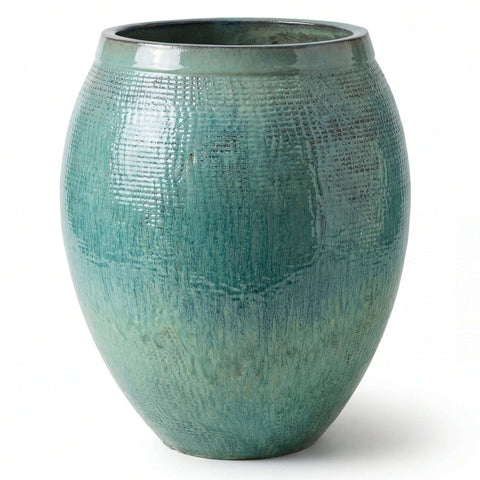
Glazed ceramic offers a notable advantage: it is frost-resistant without any prior treatment. Handmade, it offers a wide choice of colours that fit equally well into classic and contemporary settings.
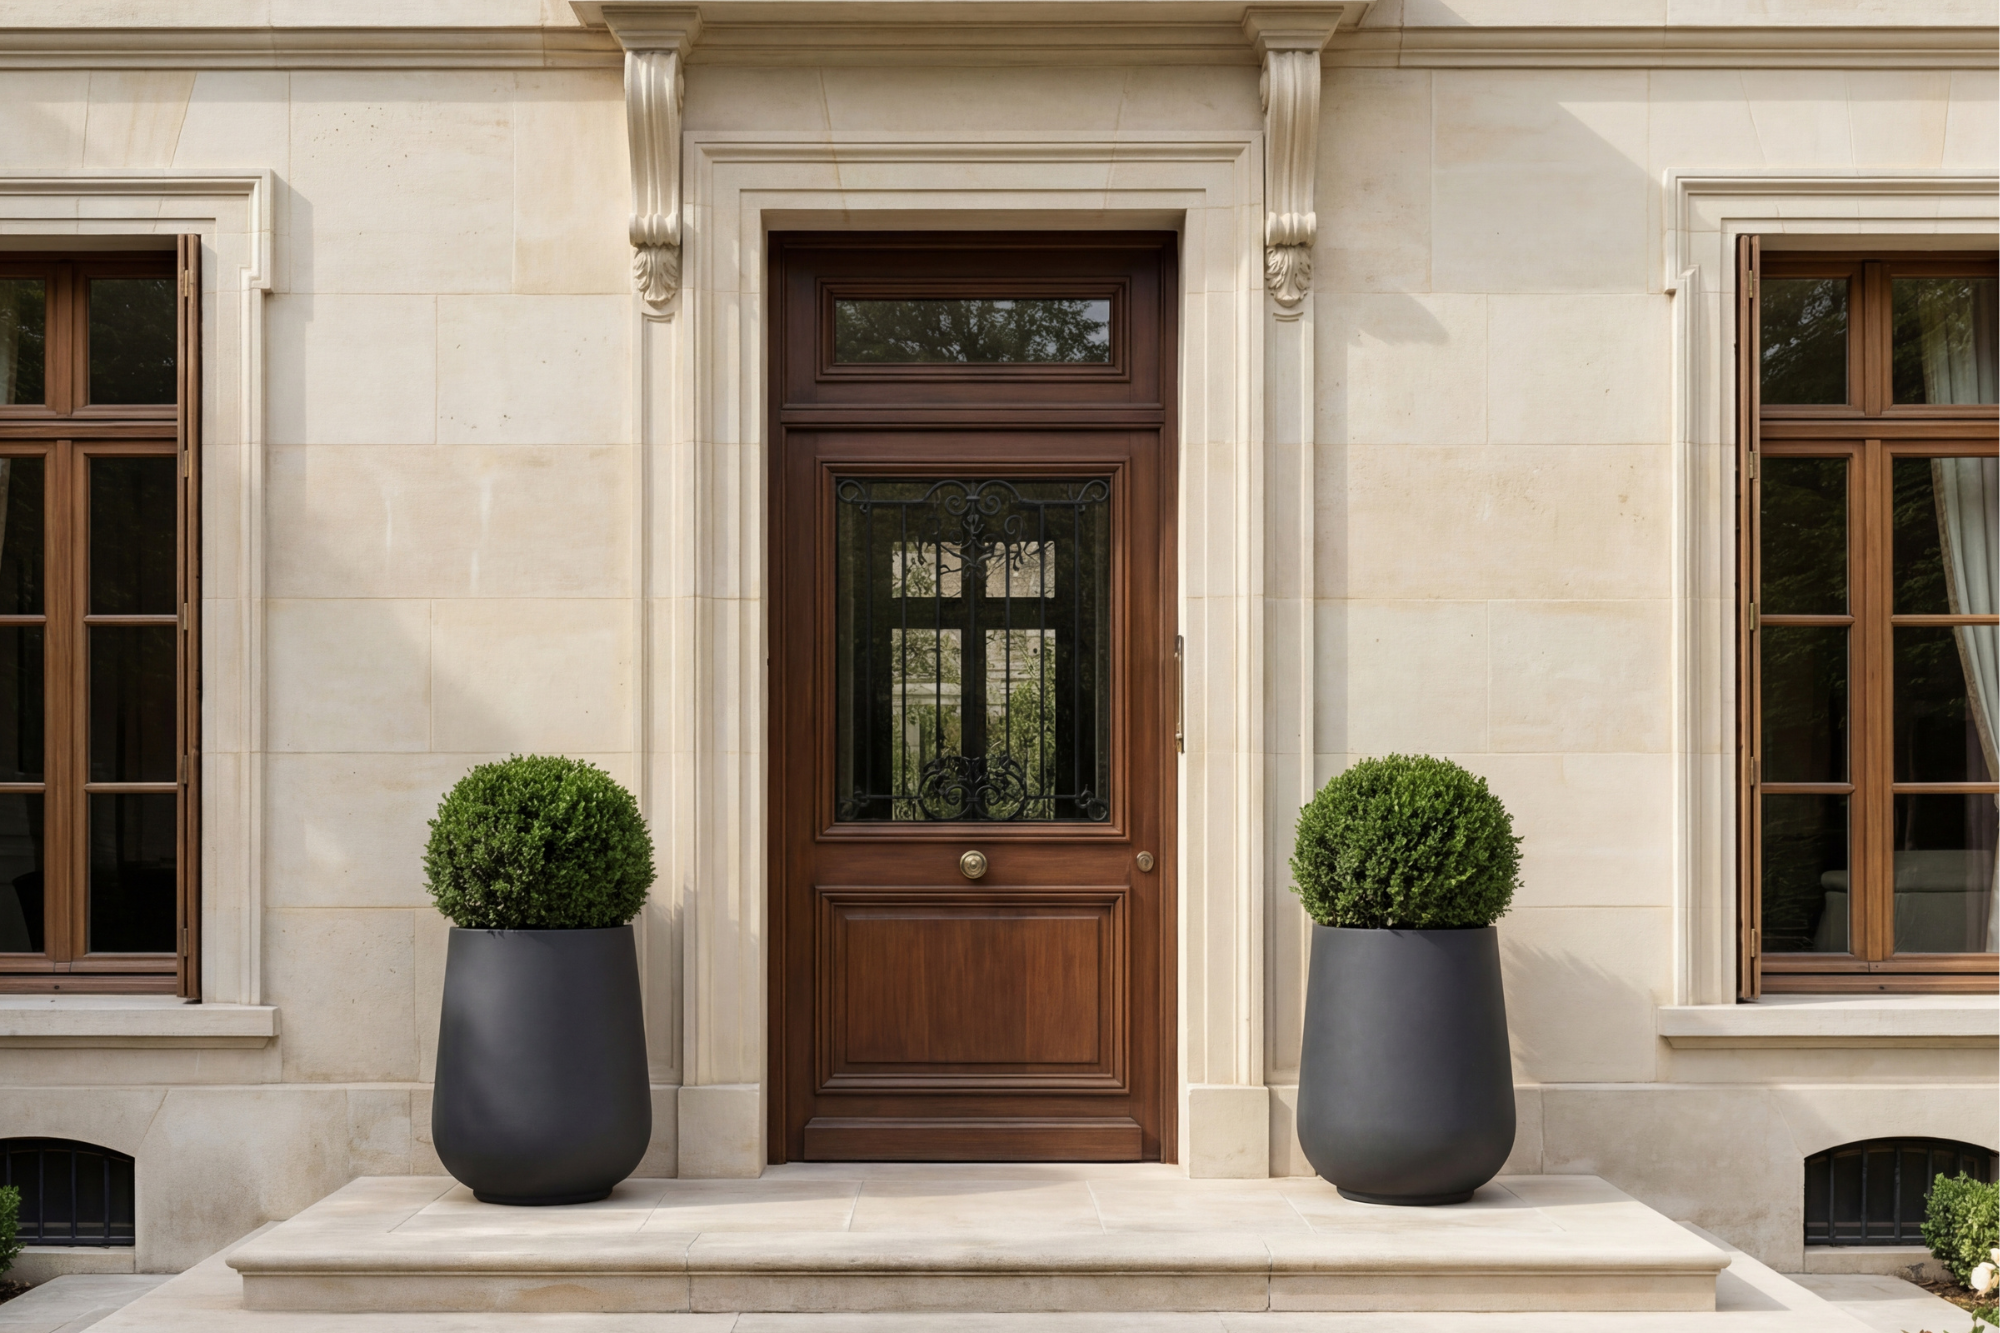
Fibre concrete, made from cement, resin and glass fibre, is surprisingly lightweight. It is considerably lighter than traditional concrete, making it a relevant choice for terraces with load restrictions.
🌿Tip: For apartment balconies, check the maximum permissible load before installing heavy containers. Fibre concrete planters are an appealing alternative thanks to their strength-to-weight ratio.
Dimensions and depth
The size of the planter depends directly on the plants you wish to install in it. Here are the minimum depths to observe:
For herbs and small annual flowers, allow a minimum depth of 15 to 20 cm. Perennials and ornamental grasses need 25 to 30 cm. Shrubs and small trees require at least 40 cm, or even more.
Width also plays a role. A narrow planter dries out more quickly and gives roots less room to spread. Choose a width of at least 20 cm for mixed arrangements.

Preparing drainage
Good drainage is the number one condition for success. Without proper water drainage, roots sit in moisture, rot and the plant dies within a few weeks.
Checking drainage holes
Every planter must have holes in its base. If your container has none, drill several using a bit suited to the material. For ceramic and terracotta, use a special tungsten carbide drill bit, watering regularly to prevent overheating.
Allow at least one 10 mm diameter hole every 10 to 15 cm along the length of the base. A single central hole is generally not enough for a planter over 40 cm long.
Installing the drainage layer
The base of the container should hold a drainage layer of 2 to 5 cm, depending on the total depth. Several materials are suitable for this layer.
Clay pebbles remain the most common and effective choice. Lightweight, inert and reusable, they create an air space beneath the growing medium that prevents standing water from reaching the roots. Fine gravel or pozzolana are also good alternatives.
Place geotextile fabric or a piece of hessian over the layer of clay pebbles. This filter prevents the compost from moving to the bottom and blocking the drainage holes.
🌿Tip: Avoid using pottery shards as a drainage layer. Contrary to popular belief, they retain water instead of allowing it to pass through, and their sharp edges can damage the roots.
Special case: planters without holes
Some decorative planters , particularly indoor ceramic ones, have no holes. There are two solutions. The first is to use them as cachepots around a perforated inner container. The second requires creating a thicker reservoir of clay pebbles (5 to 8 cm) in the base and monitoring watering extremely carefully.
The first solution remains strongly recommended. The risk of overwatering is too high without direct drainage.

Choosing the growing medium
The growing medium is the plants' living environment. It provides anchorage, water, air and nutrients. A poor choice of compost causes deficiencies, poor internal drainage or overly rapid drying.
Multipurpose or specialised compost?
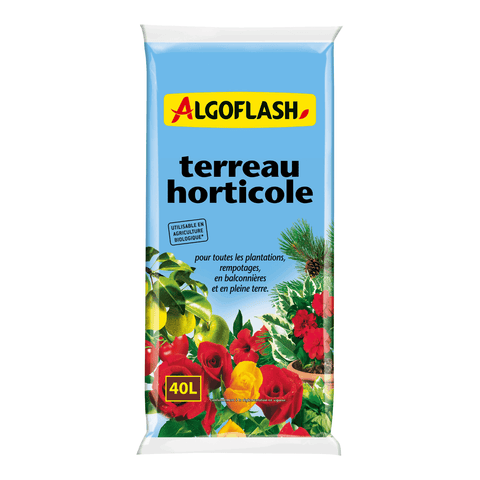
Multipurpose compost is suitable for the majority of flowers and foliage plants in planters. It offers a good balance between water retention and aeration. For the best results, choose quality compost that is rich in organic matter and has an open structure.
Specialised composts meet the particular needs of certain plants. Citrus compost is freer-draining and slightly acidic. Compost for Mediterranean plants contains more sand and pozzolana. Compost for herbs is lighter and lower in nitrogen.
Enriching and lightening the growing medium
To improve standard compost, you can add several soil amendments. Perlite or vermiculite lightens the mix and improves aeration. Mature compost provides slow-release nutrients. Coarse sand promotes drainage in mixes that are too compact.
A good starting ratio for a versatile planter: 60% multipurpose compost, 20% compost and 20% perlite or coarse sand. Adjust these proportions according to the plants chosen.
Required quantity
To estimate the required volume of growing medium, multiply the length by the width by the usable height (total height minus the drainage layer and the 2 cm surface margin). The result in cubic centimetres divided by 1,000 gives the number of litres.
Always allow a little more than the theoretical calculation. The compost settles after the first watering and you will need to top it up.
🌿Tip: Moisten the growing medium slightly before filling the planter. Compost that is too dry repels water during the first watering and creates dry pockets around the roots.
Planting
This is the creative stage. Planting itself requires a little method to ensure quick establishment and a harmonious plant arrangement.
Planning the arrangement
Before taking the plants out of their pots, place them on the still-empty planter to test the arrangement. Follow a few simple principles for a balanced result.
Place the tallest plants in the centre or at the back, depending on the planter's position. Trailing plants belong around the edges. Medium-sized plants fill the gaps.
Take each plant's needs into account. Do not mix species that need dry soil with others that enjoy constant moisture. Likewise, group plants according to their light requirements: full sun, partial shade or shade.
Successful combinations according to exposure
| Exposure | Tall plants | Medium-sized plants | Trailing plants |
|---|---|---|---|
| Full sun | Lavender, sage, ornamental grasses | Gaura, dianthus, zonal geranium | Purslane, bidens, verbena |
| Partial shade | Hydrangeas, ferns | Impatiens, begonias, heucheras | Ivy, lamium, lysimachia |
| Shade | Hostas, astilbes | Brunnera, Japanese anemones | Dichondra, mind-your-own-business |
| Herbs (sun) | Rosemary, chives | Basil, parsley, thyme | Creeping oregano, mint |
Step-by-step planting technique
Fill the planter with growing medium to about halfway. Remove the first plant from its pot by turning the container upside down and gently squeezing the sides. If the roots form a dense root ball, carefully tease them apart with your fingers.
Dig a hole in the compost the size of the root ball. Position the plant so that the top of the root ball sits 1 to 2 cm below the rim of the planter. Fill around it with growing medium without compacting it too much.
Repeat for each plant, observing the planting distances. For annual flowers, allow 15 to 20 cm between each plant. For perennials, 20 to 30 cm. For herbs, 15 cm is generally enough.
Water generously after planting to remove air pockets and bring the compost into contact with the roots. Top up the growing medium level if necessary after this first watering.
🌿Tip: The best time to plant in a planter is in the morning or at the end of the day, especially in summer. Avoid planting in full sun during the hottest hours: heat stress can compromise establishment.
Mulching: an often-forgotten ally
After planting, spread a 2 to 3 cm layer of mulch over the entire surface of the growing medium. Mulch limits evaporation, protects roots from temperature fluctuations and slows the growth of weeds.
In planters, mineral mulches such as pozzolana, crushed slate or small decorative gravel work particularly well. They do not decompose or alter the pH of the growing medium.

Caring for the planter
A well-planted planter needs regular but simple care. Watering, fertilising and a few seasonal tasks are enough to keep an attractive plant arrangement all year round.
Watering: frequency and method
Watering is the most important task. In a planter, the volume of growing medium is limited and evaporation is faster than in open ground. Plants depend entirely on you for their water supply.
In summer, daily watering is often necessary, or even twice daily during heatwaves. In spring and autumn, two to three times a week is generally sufficient. In winter, reduce watering substantially and water only if the growing medium is dry at depth.
The method matters as much as the frequency. Water slowly at the base of the plants, never over the foliage in full sun. Continue until water flows through the drainage holes. Empty the saucer after 30 minutes to prevent the roots from sitting in standing water.
🌿 Tip: The finger test remains the best indicator. Push a finger 3 cm into the growing medium. If it is dry, water. If it is still damp, wait. Rely on this test rather than a fixed schedule.
Fertilising
In a planter, the nutrients in the compost are depleted within 4 to 6 weeks. Regular fertiliser applications are essential to support flowering and growth.
Use liquid fertiliser for flowering plants, diluted in the watering water, every 10 to 15 days from March to October. For herbs, choose an organic fertiliser with less nitrogen to avoid altering their flavour.
You can also incorporate slow-release fertiliser in the form of sticks or granules when planting. This solution reduces the frequency of applications but does not eliminate them completely during the season.
Seasonal tasks
In spring, renew the top 3 to 5 cm layer of growing medium. Remove the old depleted compost and replace it with fresh compost. This is also the time to repot perennial plants if their roots fill the entire volume.
In summer, watch for pests and diseases, which are more common in dense planting. Regularly remove faded flowers to encourage new blooms. Pinch out the tips of trailing plants to make them bushier.
In autumn, remove spent annuals and replace them with seasonal plants: pansies, heathers and cyclamen. Gradually reduce fertilising.
In winter, protect planters exposed to prolonged frost. Even if the container is frost-resistant (as is the case with glazed ceramic and fibre concrete), plant roots are more vulnerable in pots than in open ground. Group containers against a sheltered wall, wrap them in horticultural fleece and raise them on blocks to encourage water drainage.

FAQ
What minimum depth is needed for planting in a planter?
Allow at least 15 cm for small annual flowers and herbs such as basil or parsley. Perennials and ornamental grasses need 25 to 30 cm. For shrubs, roses or small trees, allow a minimum of 40 cm so that the roots have enough room to develop.
Are clay pebbles essential at the bottom of a planter?
Clay pebbles are not the only possible material, but a drainage layer is essential. Gravel, pozzolana or terracotta shards serve the same purpose. The important thing is to create a space between the perforated base of the container and the growing medium so excess water can drain freely. Without this layer, the compost blocks the holes and water stagnates around the roots.
Can flowers and herbs be mixed in the same planter?
Yes, provided you group plants with similar needs. Mediterranean herbs such as thyme, rosemary and sage appreciate a well-drained growing medium and full sun. Pair them with water-wise flowers such as lavender, gaura or dianthus. However, avoid planting them with basil or mint, which need constantly moist soil.
How often should you change the compost in a planter?
Renew the growing medium completely once a year, ideally in early spring. If the planter contains perennials that you keep from one year to the next, remove the top 5 centimetres of depleted compost and replace it with fresh compost. Every 2 to 3 years, remove the perennials from their pots, prune the roots if necessary and repot them in entirely fresh growing medium.
How can you prevent a planter from drying out too quickly in summer?
Several combined measures reduce evaporation. Surface mulch (2 to 3 cm) limits water loss. Clay pebbles mixed into the compost (10 to 15% of the volume) retain moisture at the heart of the growing medium. Choose a sufficiently large container: the greater the soil volume, the longer its water autonomy. Finally, group your planters together in summer to create a humid microclimate between the foliage.
Which plants should you choose for a north-facing planter?
North-facing or shaded positions offer a more limited but equally interesting range of plants. Ferns, hostas, heucheras, tuberous begonias and impatiens thrive there. For decorative foliage, variegated ivy and shade grasses such as hakonechloa bring movement and light to the plant arrangement.
Can you plant in a planter all year round?
Planting is possible almost all year round, but the optimum period depends on the type of plant. For summer annuals such as geraniums and petunias, wait until mid-May (after the last frosts). Perennials and shrubs are ideally planted in spring or autumn. Cold-season flowers such as pansies and cyclamen can be planted from September to November.

Conclusion
Planting in a planter is not complicated, provided you follow a few fundamentals. A suitable container, careful drainage, quality growing medium and plants selected according to exposure: these are the four pillars of successful planting.
The rest comes down to daily attention. Adjusted watering, regular fertilising and a few seasonal tasks are enough to maintain a planter generous with flowers, colours and scents, whether on a balcony, terrace or in a garden.
Feel free to experiment with combinations, vary heights and textures, and renew your plant arrangements throughout the seasons. Every planter is an invitation to creativity.
PROVENCELIA offers a selection of planters in premium glazed ceramic and fibre concrete, designed to last and enhance your plantings season after season.